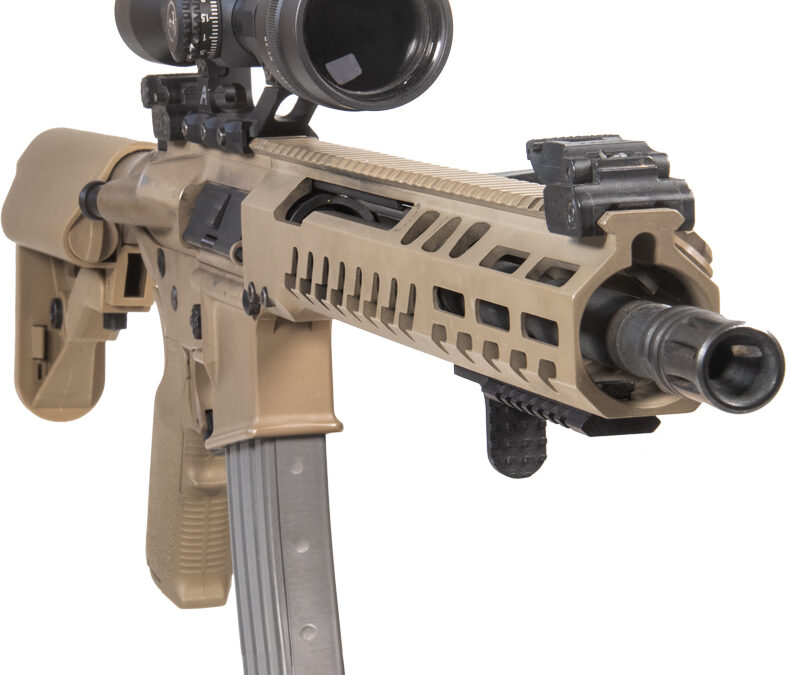
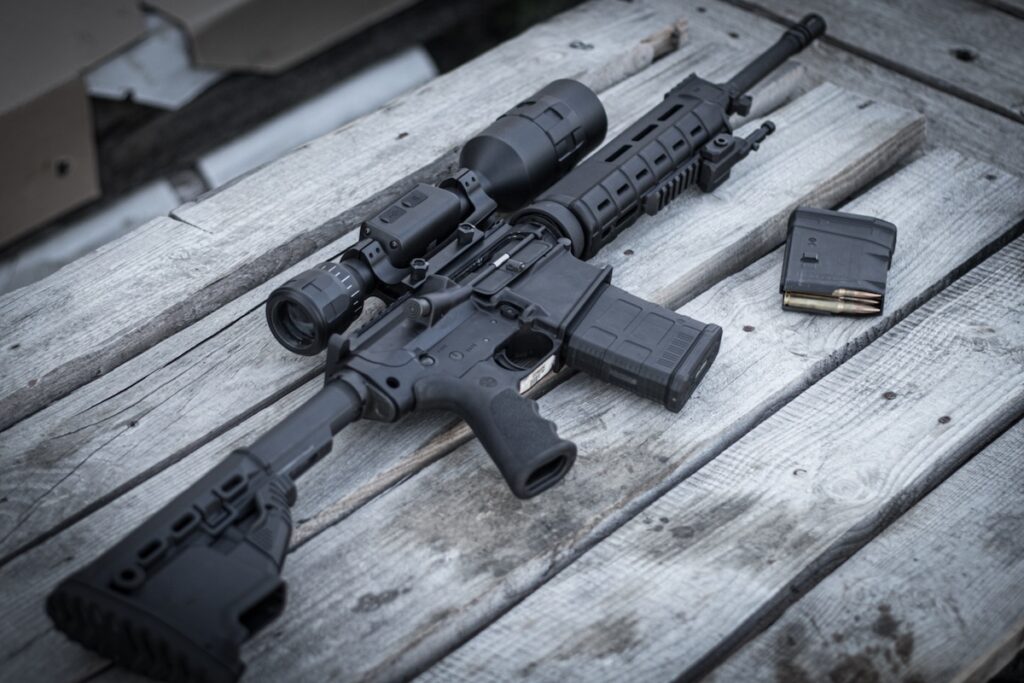
Converting an AR-15 from a fixed A-post front sight and gas block to a low-profile gas block is a practical way to unlock longer free-floating handguards, cleaner optic views, and better forward accessory placement. The work is straightforward when you set up the bench correctly, follow a clear sequence, and double-check alignment.
Why Make the Change?
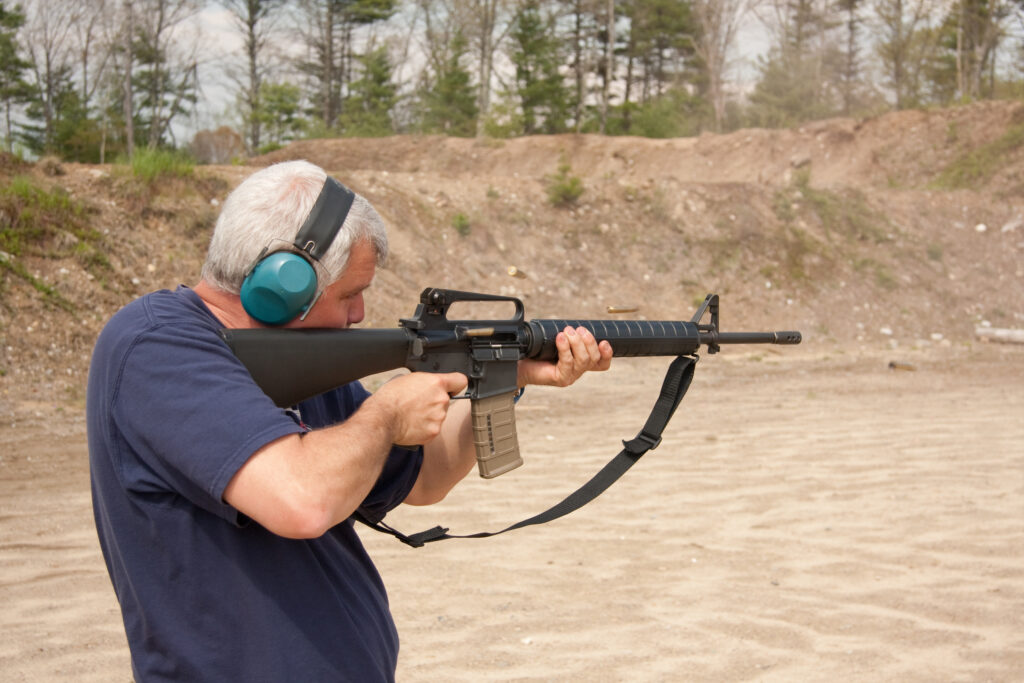
A fixed A-post tower is durable and familiar. It shields the gas system and provides a fixed front sight. Many modern builds benefit from removing it because the tower caps handguard length, keeps a permanent sight blade in the field of view for some optics, and crowds the front of the rail where lights and switches need room. A low-profile gas block frees the barrel so a handguard can run past the gas journal, supports improved hand placement, and keeps the barrel isolated from rail pressure.
Tools and Supplies You’ll Need
Core tools
- Bench vise with an upper receiver vise block or a reaction rod
- Roll pin punches: 5/32 inch for taper pins and 1/16 inch for the gas tube roll pin
- Brass or nylon hammer
- Armorer’s wrench or the barrel nut tool required by your handguard
- Torque wrench with the correct drive and bits
- Allen or Torx drivers that match your gas block and handguard hardware
- Masking or painter’s tape for finish protection
- Small heat source, such as a heat gun or propane torch, for stubborn pins
- Penetrating oil
Parts and materials
- Low-profile gas block sized to your barrel’s gas journal, commonly 0.750 inch or 0.625 inch
- Correct gas tube for your barrel’s gas length: carbine, mid-length, or rifle
- Free-floating handguard with its proprietary barrel nut and screws
- Blue thread locker for hardware that calls for it
- Optional: witness marker or paint pen for alignment marks, high-temperature anti-seize for some barrel nuts, and a bench block to support the front sight base
Step 1: Safety and Preparation
Clear the rifle completely. Remove the magazine, lock the bolt to the rear, and inspect the chamber visually and by touch. Separate the upper from the lower to reduce weight and make clamping safer.
Secure the upper receiver in the vise using a proper receiver block or a reaction rod. Do not clamp the receiver by itself. Tape off nearby surfaces on the barrel and receiver to prevent marring. Lay out your punches, hammer, and support block within easy reach.
Step 2: Remove the Existing Handguard
Different setups come off in different ways. Identify yours and remove it cleanly.
- Delta ring and spring: Compress the delta ring and pull each half of the drop-in handguard free. A handguard removal tool helps by giving you leverage on the ring.
- Existing free-float rail: Follow the brand’s procedure to loosen clamp bolts or cross-bolts, then remove the handguard. Remove its barrel nut if your new handguard uses a different nut.
With the handguard off, the A-post and its taper pins are fully exposed.
Step 3: Drive Out the Taper Pins
The A-post front sight base is typically held to the barrel with two taper pins. These pins are directional. Drive them out from the small end toward the large end. On most rifles, the small ends sit on the right side when the muzzle points away from you.
- Support the sight base on a bench block. Keep the barrel well supported to avoid bending loads.
- Use a correctly sized 5/32 inch punch and a brass or nylon hammer. Apply firm, square blows. If a pin refuses to move, add penetrating oil and allow time to wick in. Moderate heat helps break loose varnished oil.
- Once the pins move, finish driving them free and set them aside in order. They are fit to that base and barrel.
Step 4: Remove the Gas Tube
With the taper pins out, remove the gas tube roll pin from the sight tower using a 1/16 inch punch. Keep control of the punch so it does not skate into the tower. Pull the gas tube toward the receiver to free it from the tower, then slide the A-post assembly forward and off the barrel. Note the orientation of the gas tube’s bend as it will match the new block.
Inspect the barrel’s gas journal and the gas port. A bit of carbon is normal. Clean the journal and the port area with a cloth.
Step 5: Install the Low-Profile Gas Block
A precise alignment between the barrel gas port and the block’s port is essential.
- Lightly mark the barrel at the centerline of the port with a pencil or fine marker. Some barrels have a flat or a notch that aids alignment.
- Slide the low-profile gas block onto the journal. Align the block’s port to the barrel mark and keep the block square to the barrel shoulder.
- Insert the gas tube through the block and into the upper receiver. Confirm that the tube moves freely in the upper’s gas key channel without rubbing.
- Install the gas tube roll pin. Seat it flush on both sides of the block.
- Secure the gas block per the manufacturer’s design. For set screws, apply a small amount of blue thread locker and torque to spec. For clamp-on styles, tighten the clamp bolts evenly. For pinned blocks, alignment is set first, then the block is drilled and pinned.
Step 6: Install the Free-Floating Handguard
Most free-floating handguards ship with a proprietary barrel nut. Follow the brand’s sequence and torque guidance.
- Remove any remaining legacy nut or delta ring assembly. Clean the receiver threads.
- Lightly lubricate receiver threads if the manufacturer recommends it. Some call for anti-seize.
- Thread on the new barrel nut by hand to avoid cross-threading. Torque within the specified range. Many systems sit between 30 and 80 foot-pounds. Some require tightening and loosening cycles to seat threads and align timing features.
- Slide the handguard over the barrel and the new gas block. Confirm clearance. Very slim rails can contact tall gas blocks.
- Align the rail to the upper receiver. Many systems use anti-rotation tabs or timing features.
- Install the handguard hardware with blue thread locker if the instructions call for it. Tighten in an even pattern so the rail clamps squarely.
Check that nothing touches the barrel. The free-float benefit depends on a clean gap.
Step 7: Final Checks
- Cycle the action by hand. The charging handle should feel smooth. Listen and feel for drag from a misaligned gas tube.
- Inspect the gas tube at the upper. The tube should sit centered in the gas key channel.
- Verify that the new handguard clears the gas block through the full length of the rail.
- Confirm all fasteners are torqued and treated as directed.
- Reassemble the upper and lower and perform a full safety function check.
- After the first live-fire session, retorque fasteners that the manufacturer specifies for a post-shoot check.
Gas Block Types and Fitment Details
Low‑profile gas blocks come in several designs and each anchors to the gas journal in a different way. Set‑screw models are compact and easy to service, and they hold best when the barrel has dimples that give the screws a repeatable seat. Clamp‑on bodies wrap the journal and tighten from both sides, which spreads load and can be gentle on finishes, but they must be torqued evenly to stay square. Pinned blocks are chosen for harsh use because once aligned, the block and barrel are drilled together and locked with a solid pin that resists heat and impact.
Fitment matters as much as style. Match the block’s bore to the journal diameter on the barrel, most commonly 0.750 inch, with 0.625 inch common on lightweight profiles. A loose fit leaks gas and wanders, while a too‑tight fit scars the journal during installation. Also consider rail clearance and the block’s height if you plan to run a very slim handguard, since some tall patterns will not fit under ultra‑narrow tubes.
If reliability under heat is the priority, pick the design you can align precisely and secure consistently with the tools you actually own.
Alignment Techniques That Save Time
Start with a visible reference. Mark the centerline of the barrel’s gas port with a fine pencil line before the block goes on, then use that line as your target while you keep the block square to the shoulder. The gas tube doubles as a gauge during test fits; it should slide into the upper receiver without any scraping, and it should move freely when you cycle the action by hand.
Follow the parts maker on standoff. Some combinations expect the block to kiss the barrel shoulder, others call for a small gap. Once torque is set, add a thin paint‑pen witness line across block and barrel. That single line turns your first range trip into a proof test, since any movement is obvious at a glance.
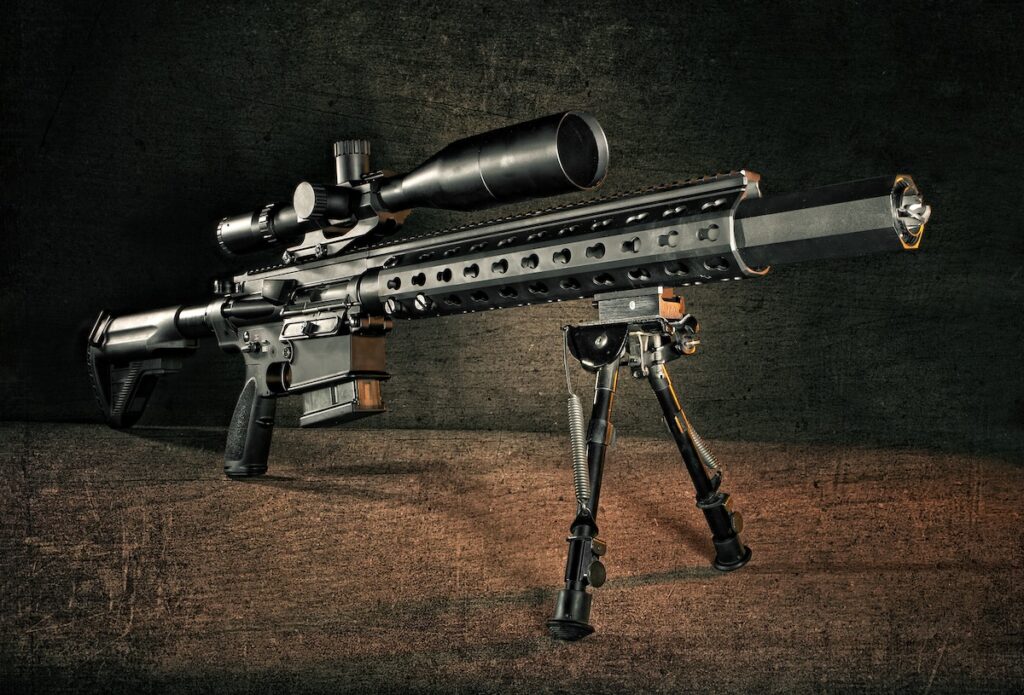
Free‑Floating Handguard Notes
A longer free‑floating handguard changes balance and opens real estate for lights, switches, and sights. Stability begins at the barrel nut, so follow the torque window and timing steps from the rail maker and confirm anti‑rotation features seat flush against the upper. Always test for hard clearance between rail and block before final torque, because even slight contact can spoil groups and scuff parts.
Troubleshooting After Installation
Failures to lock back on an empty magazine often trace back to alignment. A block that is a hair off the port will starve the system. Verify that the gas tube is fully seated and that the handguard is not touching the block, then test with a known good magazine and standard pressure ammunition.
Short stroking and sluggish cycling suggest a leak. Look for dark soot at the joint between block and barrel or around the roll pin. If you changed other parts during the build, confirm buffer weight and spring rate, since a mismatch can mimic gas problems and send you searching in the wrong place.
A gritty charging feel points toward the gas tube rubbing inside the upper. Loosen the block, re‑square it while watching the tube at the receiver, snug the hardware, and hand‑cycle again. Smooth travel is your confirmation.
If your zero moved after the swap, do not be surprised. A true free‑float can shift point of impact compared to a rail that used to touch the barrel. Re‑zero, record the new data, and move on with a cleaner baseline.
Maintenance and Service Life
After the first live session, let the upper cool and read your witness marks. If nothing budged, you are likely set for the long haul. During routine cleaning, a quick glance at the mark, a look for fresh soot, and a check that the gas tube sits true in the upper will catch problems early.
Pinned blocks seldom need attention beyond that. Screw and clamp styles deserve an occasional torque check, and any sign of contact between rail and block means it is time to re‑establish clearance before the interference grows into a reliability issue.
Tips for Success
Work on a rigid bench with bright light. Support the old sight base on a bench block when you drive taper pins so you are not levering on the barrel. Use the correct punches for the job, since an undersized tip will wander and scratch steel where you least want it.
Bring heat and patience to stubborn pins rather than more force. Test fit the handguard over the new block before you commit to final torque, and stage every fastener on a tray or magnet so you never go hunting for a single lost screw that halts the build.
Finally, write down your torque values and the brand‑specific steps you followed. Notes today save time the next time you service the rifle.
Potential Pitfalls to Avoid
Misaligned ports waste gas and cause the whole cascade of cycling issues. Over‑tightening small aluminum hardware strips threads that you cannot easily recover in the field. Skipping the gas tube roll pin invites the tube to creep forward under recoil. Allowing the handguard to touch the barrel cancels the very benefit you just installed. Driving taper pins from the large end locks the base in place and can scar the barrel beyond simple cleanup.
Sight and Optic Options After the Swap
With the fixed tower gone, you can run folding irons near the rail’s front and a matching rear on the receiver, as long as sight heights are compatible with your rail height. Red dots gain a clean window and can be set for absolute or lower one‑third co‑witness depending on your cheek weld and rear sight choice. Low‑power variables often mount more naturally, since the longer rail gives you latitude for eye relief and for a light at the proper offset.
Once your optics are set, confirm a primary zero and a second reference distance you actually use. Record both in the rifle’s log so future checks are quick.
Energy, Heat, and Finish Considerations
More rail length spreads heat across more surface area, which usually makes the forend friendlier during long strings. If you like a far‑forward grip, rail panels or gloves still help when round counts rise.
Removing an A‑post often reveals a finish ring on the journal. That mark is cosmetic and disappears under the new block and handguard, so it does not require corrective work unless you want to refinish for appearance.