
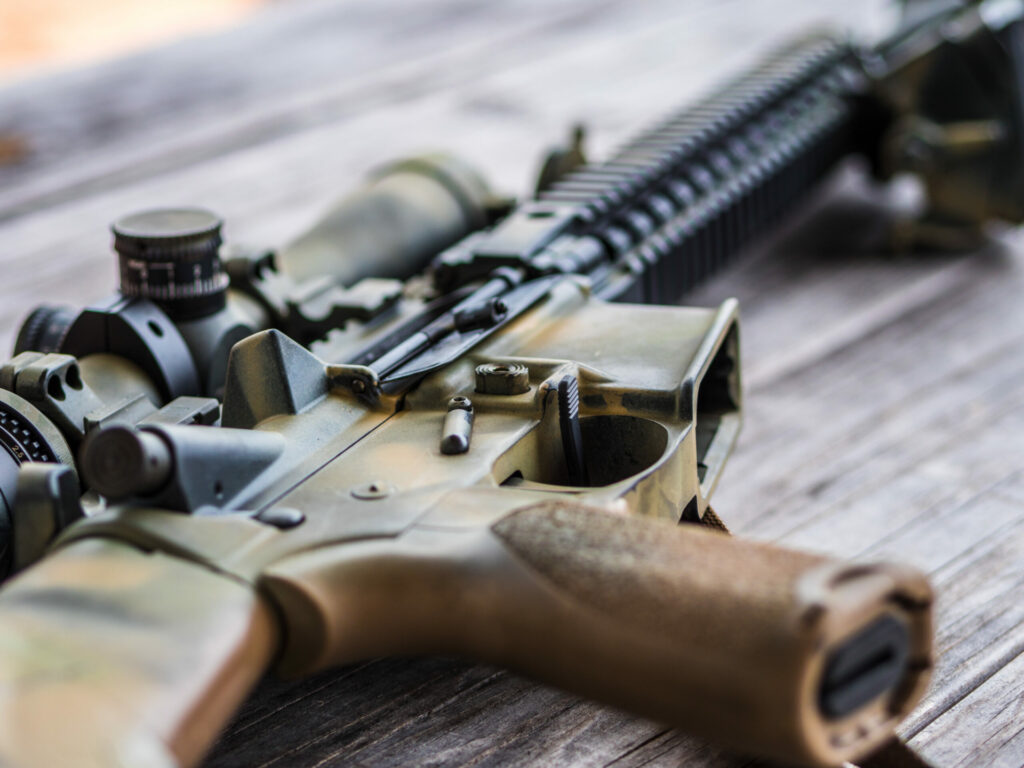
Regular maintenance of your AR-15 is essential for keeping it in optimal condition. A clean rifle not only performs better but also lasts longer, providing you with reliability when you need it most. This comprehensive guide will provide a step-by-step walkthrough of the cleaning process, ensuring your AR-15 stays in top shape.
Safety Precautions
Safety is the top priority when handling firearms. Before you begin cleaning your AR-15, it’s essential to ensure the firearm is unloaded and safe to handle. This prevents any accidental discharges and ensures your safety throughout the cleaning process.
Start by pressing the magazine release button and removing the magazine, placing it aside. Then, pull back the charging handle and lock the bolt to the rear. Visually inspect the chamber to confirm it’s empty. Even if you believe it’s unloaded, physically check the chamber with your finger to ensure no rounds are present. Once you’ve verified the rifle is clear, you can release the bolt forward.
Key Safety Steps:
- Remove the magazine.
- Lock the bolt to the rear.
- Visually and physically check the chamber.
These steps guarantee your rifle is safe to handle, allowing you to proceed with cleaning without any risk.
Gathering Supplies
Before diving into the cleaning process, gather all necessary tools and supplies. A good cleaning kit typically includes a bore brush, cleaning rod, patches, solvent, lubricant, and a nylon brush. The type of solvent and lubricant you choose can affect the cleaning process; some prefer CLP (Cleaner, Lubricant, Protectant) for its all-in-one capabilities, while others opt for separate cleaning solvents and lubricants for more thorough maintenance.
Essential Supplies:
- Bore brush
- Cleaning rod
- Patches
- Solvent
- Lubricant
- Nylon brush
Having everything at hand before starting makes the process smoother and more efficient.
Initial Preparation
Set up a clean and organized workspace to ensure you don’t lose any small parts during disassembly and cleaning. Lay out all your tools and supplies within easy reach. A well-lit area with a stable surface is ideal. Consider using a mat or towel to prevent parts from rolling away and to protect surfaces from solvents and oils.
By preparing your workspace and organizing your tools, you minimize the risk of losing components and ensure a more streamlined cleaning process.
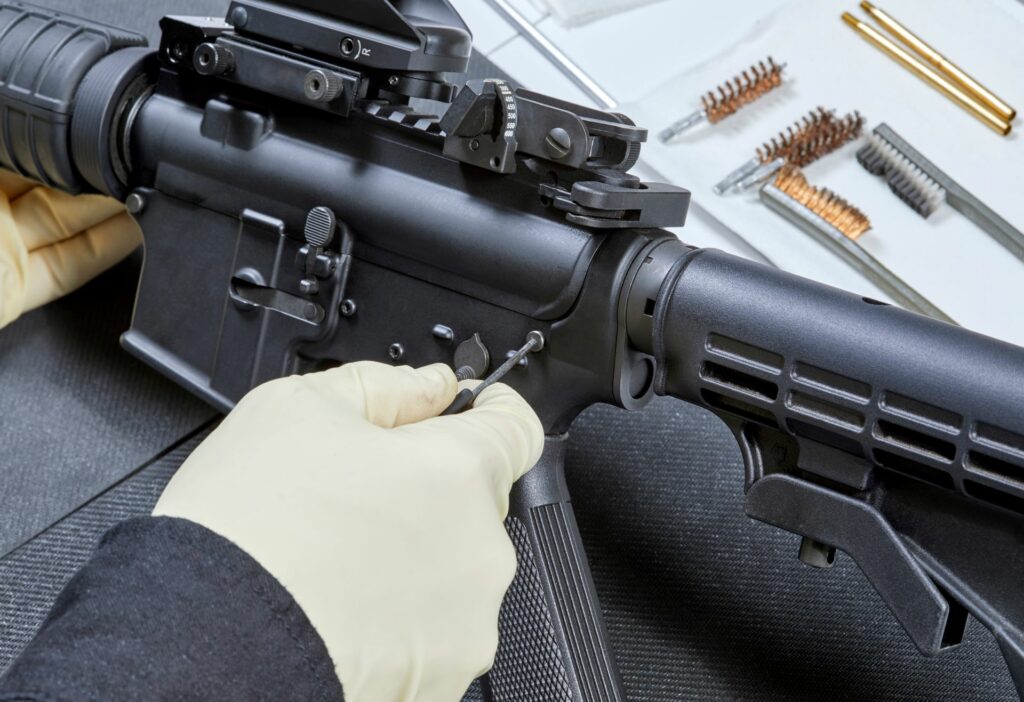
Disassembly
Disassembling your AR-15 is essential for accessing all the parts that need cleaning. Begin by separating the upper and lower receivers. Push the takedown pins located at the front and rear of the lower receiver. These pins might be tight, especially on new rifles, so you may need a punch tool. Once the pins are disengaged, you can pull the upper receiver away from the lower receiver.
Next, remove the bolt carrier group (BCG) and the charging handle from the upper receiver. Simply pull back on the charging handle to slide it out along with the BCG. Set these parts aside for cleaning. To disassemble the BCG, start by removing the firing pin retaining pin using a small tool like a punch or paperclip. Tilt the bolt carrier backward to allow the firing pin to drop out. Push the bolt into the carrier and rotate the cam pin 90 degrees to remove it, then pull the bolt out of the carrier.
Remove the buffer and buffer spring from the lower receiver by pressing down on the buffer retainer and pulling the buffer and spring out of the buffer tube. Now, all major components are ready for cleaning.
Cleaning the Upper Receiver
The upper receiver includes the barrel, chamber, and gas tube, all of which need thorough cleaning to ensure reliable operation. Start with the barrel and chamber. Attach a bore brush to your cleaning rod and soak it in solvent. Run the brush through the barrel from the chamber to the muzzle several times. Follow up with dry patches until they come out clean, then use a lightly oiled patch to protect the bore.
Cleaning the gas tube can be a bit tricky. A specialized gas tube pipe cleaner or compressed air can help clear out debris. Avoid using liquids that can leave residue.
Cleaning the Bolt Carrier Group
The bolt carrier group is often the most carbon-coated part of your AR-15. Focus on the bolt, carrier, and firing pin. Use a nylon brush and solvent to scrub the bolt, paying close attention to the lugs and extractor. Clean the inside and outside of the bolt carrier thoroughly, ensuring no carbon buildup around the gas key and cam pin slot. Wipe the firing pin with a solvent-soaked cloth and dry it thoroughly.
Steps to Clean the BCG:
- Use a nylon brush and solvent to clean the bolt, focusing on the lugs and extractor.
- Scrub the inside and outside of the bolt carrier, paying attention to the gas key and cam pin slot.
- Wipe the firing pin with a solvent-soaked cloth and dry thoroughly.
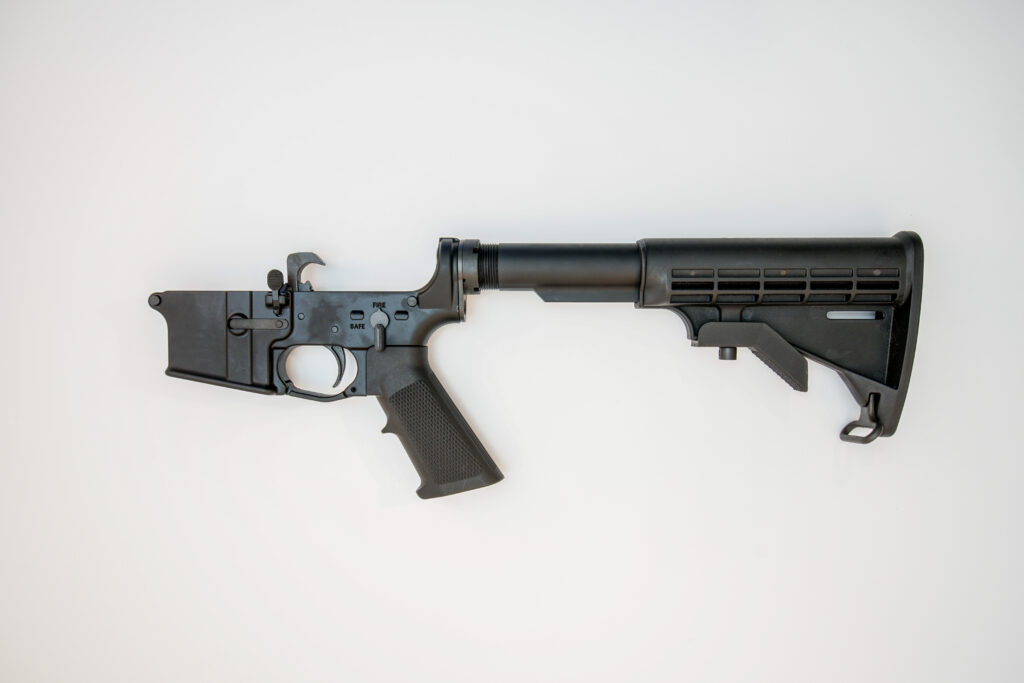
Cleaning the Lower Receiver
The lower receiver includes the trigger group and buffer tube, which also require attention during cleaning. Use a nylon brush and solvent to gently clean the trigger group. Be careful not to damage any small springs or pins. Once cleaned, dry the area thoroughly and apply a light coat of oil to the moving parts to prevent rust and ensure smooth operation.
For the buffer tube, use a solvent-soaked patch to clean the inside. Wipe down the buffer and spring to ensure they are free of debris. Reassemble the buffer and spring into the buffer tube once cleaned.
Reassembly
Once all parts are cleaned and dried, it’s time to reassemble your AR-15. Begin by reassembling the bolt carrier group. Insert the bolt into the carrier, followed by the cam pin. Rotate the cam pin 90 degrees and insert the firing pin, securing it with the firing pin retaining pin. Reattach the charging handle and BCG into the upper receiver.
Join the upper and lower receivers by aligning them and pushing the takedown pins back into place. Reinsert the buffer and buffer spring into the buffer tube.
Key Reassembly Steps:
- Reassemble the bolt carrier group.
- Reattach the charging handle and BCG.
- Join the upper and lower receivers.
- Reinsert the buffer and buffer spring.
Function Testing and Final Checks
After reassembly, it’s essential to perform a function test to ensure everything is working correctly. Cycle the action to ensure it operates smoothly. Check the safety and trigger function. Inspect the rifle for any leftover debris or cleaning residue. Performing these checks ensures your AR-15 is ready for use and functions reliably.
Function Test Steps:
- Cycle the action to ensure smooth operation.
- Check the safety and trigger function.
- Inspect for any leftover debris or cleaning residue.
By following these steps, you can maintain your AR-15 in top condition, ensuring its reliability and longevity. Regular cleaning not only enhances performance but also helps you become more familiar with your firearm, making you a more knowledgeable and confident AR-15 owner.
Final Word
Well, there you have all the steps to clean your AR-15 rifle. Here are a couple of tips to make maintaining your rifle easier in the future:
- Invest in a Good Cleaning Kit: A comprehensive cleaning kit simplifies the maintenance process. Ensure it includes all necessary brushes, rags, solvents, and other materials, so you won’t need to search for them each time you clean your gun.
- Clean Your Gun Regularly: Regular cleaning reduces the amount of work required each time. Carbon build-up can become extremely difficult to remove if left too long. Set aside some time each week for a thorough cleaning session.
- Don’t Forget About Lubrication: After cleaning, apply lubricant (oil or grease) to all the moving parts. This keeps everything running smoothly and prevents rust.
Understanding how important and straightforward it is to clean your AR-15 rifle properly means there’s no excuse not to do it! Follow these steps each time you use your gun, and your rifle will thank you.
If you’re on the market for an AR-15 of your own, check us out and get yourself a side charge rifle!