
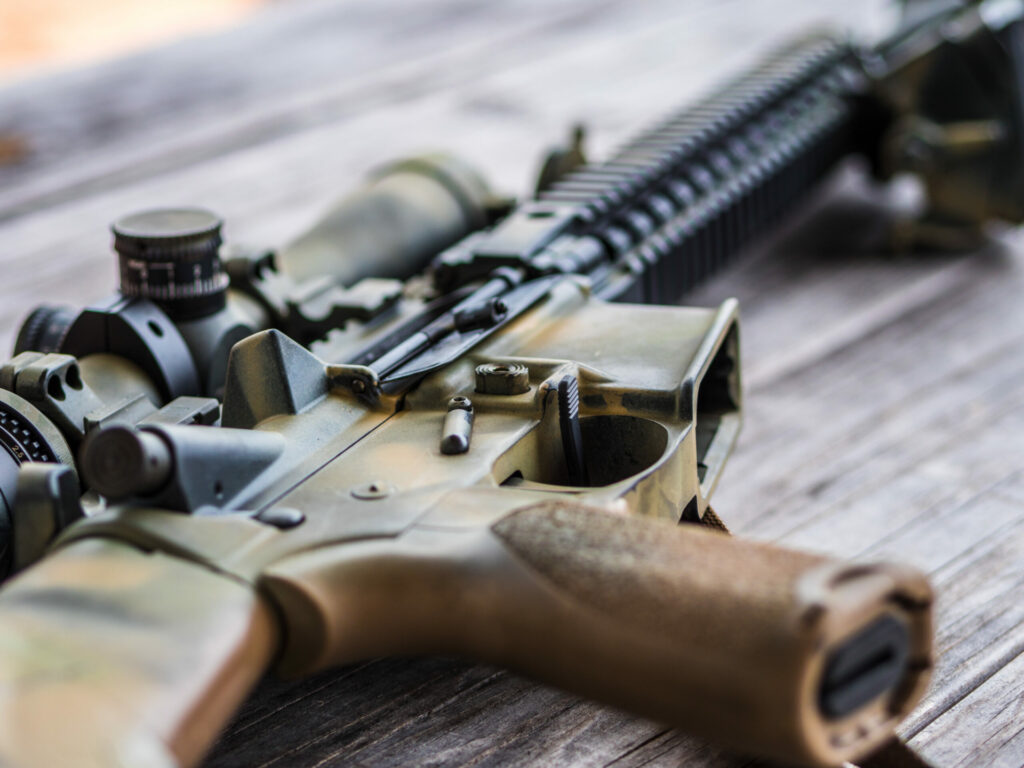
Painting your rifle is one of the best ways to give it a custom look while adding a durable layer of protection. It not only shields your firearm from the elements but also allows you to create a personalized camouflage or tactical finish that blends seamlessly into your surroundings. For achieving top-notch results at home, Aluma-hyde is the way to go. It’s tough, scratch-resistant, solvent-proof, and comes in a variety of colors, making it perfect for any application you have in mind. It’s nearly professional grade—short of a heat-cured option like Cerakote—but much easier and more affordable to do yourself.
Why Paint Your Rifle?
There are a few reasons why you might want to paint your rifle. First, painting provides a layer of protection from rust and corrosion, especially if you’re out in the field in wet or harsh conditions. Second, it helps with camouflage. Whether you’re in the woods, the desert, or an urban environment, a painted rifle can blend in better with your surroundings, making you less visible. Lastly, it’s a way to customize your rifle. Whether you want a tactical look or just like a certain color scheme, painting gives you control over how your gear looks.
What to Paint
Before you dive in, think about what parts of your rifle you want to paint. Some people prefer to paint the entire thing, while others focus on the stock, handguard, or other external components. If you’re going for a full-camo effect, you’ll want to cover as much of the rifle as possible, but you might want to avoid painting the internals or critical moving parts like the trigger assembly.
Make sure to mask off areas that shouldn’t get paint—optics, sights, and any moving parts—using painter’s tape and newspaper or plastic. It’s also a good idea to remove any accessories or attachments before you start spraying.
Camo and Custom Patterns
Before we dive into painting, if you’re aiming for a camo look or custom pattern, there are several simple techniques you can use to create a unique finish. The best part? You don’t need to spend money on expensive stencils—everyday household items or natural materials work perfectly.
Mesh and Netting for Texture
A great way to create a textured camo pattern is by using a mesh laundry bag. Place the bag over the rifle and spray light coats of different colors through the mesh. This will give your rifle a subtle, layered camo pattern that looks professional. The mesh creates an irregular, broken-up pattern that works well in a variety of environments.
Using Natural Elements
If you want a more organic camouflage, grab some plants, leaves, or branches from your surrounding environment. Lay these over the rifle before spraying your next coat of paint. When you remove them, you’ll be left with natural-looking shapes that blend perfectly with the environment you’re planning to use your rifle in. This is a technique we used in the military, and it’s simple, effective, and costs nothing.
Stencils and Freehand Patterns
You can also use homemade stencils or go freehand. If you want something more geometric or tactical, cutting shapes out of cardboard or thin plastic works great as a stencil. Tape them down and spray lightly to get crisp edges. For a more free-flowing design, spray freehand in sweeping motions while alternating colors to create a pattern that suits your needs.
Layering Colors
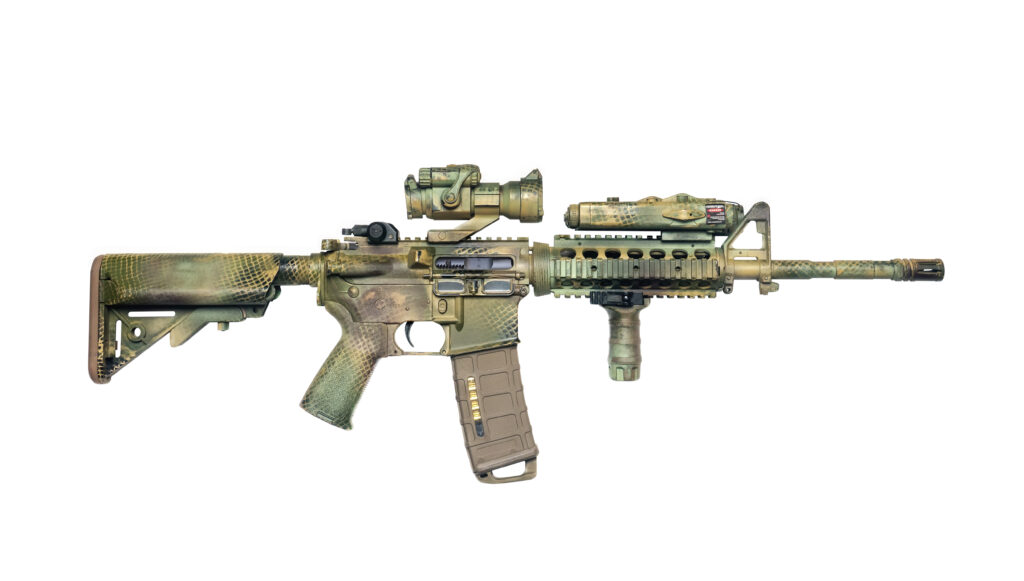
If you’re doing a multi-color camo pattern, always start with your lightest color as the base coat. After that dries, layer your darker colors on top using your stencils, natural elements, or mesh techniques. This gives you a nice depth and contrast that will help break up the rifle’s outline in the field.
How to Paint Your Rifle with Aluma-hyde
Aluma-hyde is the top choice for painting your rifle because it offers a durable, nearly-professional finish that can withstand heavy use, harsh conditions, and even solvents like CLP or brake cleaner. Here’s how to get the best results:
Materials You’ll Need:
- Aluma-hyde spray cans (pick your colors)
- Painter’s tape and masking material (newspaper, plastic wrap, etc.)
- Flat fan nozzles (optional but recommended)
- Brake cleaner (for degreasing)
- Heat gun or hair dryer (for warming the can)
- Mesh laundry bag or natural items (for camo patterns)
- Gloves (to avoid oil from your hands getting on the surface)
Step 1: Prepping the Rifle
Proper prep is key to making sure the paint sticks and lasts. Start by cleaning the rifle thoroughly. Use brake cleaner or another degreaser to remove any oils, dirt, or grime. The surface needs to be squeaky clean, so don’t skip this step. Any residue left behind will prevent the paint from bonding properly.
After cleaning, mask off any areas you don’t want painted—optics, trigger assembly, barrel, etc. Use painter’s tape to cover these areas completely and make sure there are no gaps.
Step 2: Prepping the Aluma-hyde
Aluma-hyde is thicker than your average spray paint, so you need to warm it up and shake it well before spraying. You can do this by placing the can in warm water for about 5-10 minutes or using a hairdryer to gently heat it up. This helps the paint flow better and prevents clogging.
I also recommend swapping the default nozzle for a flat fan nozzle (available from Brownells). The flat spray pattern gives you better control and a smoother application, making it easier to avoid over-spraying or getting drips.
Step 3: Applying the Paint
Now it’s time to paint! Here’s the method that gets the best results:
- Start with a thin tack coat. Hold the can 8-12 inches away from the rifle and apply a very light misting layer. This helps the next layer adhere better. Don’t worry about full coverage at this point—just enough to give the surface some grip.
- Wait 15-20 minutes for the tack coat to flash dry. Aluma-hyde is thick, so give it time to dry between coats.
- Apply the base coat. After the tack coat has dried, go in with a full, even coat. Spray in smooth, overlapping passes, keeping the can about 8-12 inches away from the rifle. One good coat is usually enough if you do it right, but if you need more coverage, let it flash dry again before applying a second light coat.
Step 4: Curing the Paint
Aluma-hyde cures through air-drying, so after you finish painting, let the rifle sit for 2-3 days in a warm, dry area (70-80°F or higher is ideal). Even though it might feel dry to the touch sooner, it needs time to fully harden and bond to the surface. Be patient—this is what makes the paint so durable and resistant to scratches or chemicals.
Painting your rifle isn’t just about looks—it’s about protection and function. With Aluma-hyde, you’re getting a tough, durable finish that will stand up to hard use and resist wear from solvents and cleaning. The process may take a bit of time and patience, but the results are well worth it. Whether you’re going for full camouflage or just want to add some personality to your rifle, Aluma-hyde is the best option for a long-lasting, professional-quality finish. By following these techniques, you can create a finish that not only looks great but works in the field.